Are your timber floors looking tired and worn-out? Are you dreaming of restoring their former glory and bringing warmth back into your space? Look no further! In this guide, we’ll walk you through the basics of Timber Floor Sanding, with a focus on the fantastic services available in Melbourne. Get ready to transform your living space and create a stunning foundation for your home.
Understanding the Basics
What is Timber Floor Sanding?
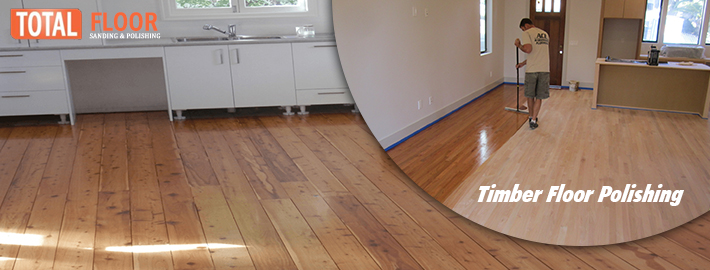
Timber floor sanding is the process of removing the top layer of a wooden floor using abrasive materials. This not only smoothens the surface but also removes any imperfections, scratches, and stains. The result? A rejuvenated and polished timber floor that adds a touch of elegance to your home.
Why Melbourne Service?
Melbourne is known for its vibrant culture and architectural diversity. The Timber Floor Sanding Melbourne service understands the unique characteristics of local homes and offers tailored solutions. Choosing a local service ensures that professionals are well-versed with the challenges and requirements specific to the Melbourne climate and lifestyle.
The Step-by-Step Guide
1. Preparation is Key
Before diving into the sanding process, proper preparation is essential. Here’s what you need to do:
- Clear the Room: Remove furniture and any obstacles from the area to create a clean workspace.
- Inspect the Floor: Identify any damages or protruding nails that need to be addressed before sanding begins.
- Clean Thoroughly: Sweep and mop the floor to remove dust and debris.
2. Choosing the Right Equipment
Investing in the right equipment is crucial for a successful floor sanding project. Here are the essentials:
- Sander: Choose a quality floor sander that suits the size of your project.
- Sanding Belts and Sheets: Use a variety of grits for a gradual and effective sanding process.
- Protective Gear: Safety first! Wear goggles, a mask, and ear protection to shield yourself from dust and noise.
3. The Sanding Process
Now that you’re prepared, it’s time to get down to business:
- Rough Sanding: Start with coarse-grit sandpaper to remove the old finish and level the floor.
- Medium Sanding: Progress to medium-grit sandpaper to refine the surface.
- Fine Sanding: Finish with fine-grit sandpaper for a smooth and polished look.
4. Sealing and Finishing
After sanding, your floor is ready for the finishing touches:
- Choose a Sealant: Opt for a sealant that suits your preferences and lifestyle, whether it’s oil-based, water-based, or polyurethane.
- Apply Evenly: Use a brush or roller to apply the sealant evenly across the floor.
- Allow Drying Time: Be patient! Let the sealant dry thoroughly before moving furniture back into the room.
Benefits of Professional Floor Sanding Melbourne Service
While DIY projects can be rewarding, there are undeniable benefits to hiring a professional Melbourne service for your floor sanding needs:
- Expertise: Professionals bring years of experience, ensuring a flawless finish.
- Time Efficiency: Save time and effort by entrusting the job to skilled technicians.
- Quality Equipment: Professionals use high-quality equipment for a superior result.
- Tailored Solutions: Local services understand the specific needs of Melbourne homes, providing personalized solutions.
Conclusion
Timber floor sanding is a transformative process that breathes new life into your living space. By following this basic guide and considering a Timber Floor Sanding Melbourne service, you’re on your way to enjoying beautifully restored floors that enhance the charm of your home. Don’t let your timber floors fade into the background – revitalize them and make a lasting impression!